How to connect PoE IP cameras
At a time when security is a top priority, PoE (Power over Ethernet) IP cameras have become essential for monitoring and protecting homes, businesses and public spaces. These advanced cameras offer high-resolution images and remote access, making them a popular choice for surveillance systems. Connecting IP cameras using a PoE switch may seem daunting to some, but with the right knowledge and steps it can be a simple process.
What are PoE IP cameras
IP cameras differ from traditional analog cameras in that they use the Internet Protocol (IP) to transmit data over a network. Power over Ethernet (PoE) simplifies the installation process by allowing both power and data to be transmitted over a single Ethernet cable. This eliminates the need for separate power sources, making the setup more efficient and cost-effective. This is why switch poe or poe+ is an integral part of IP camera installations.
Few steps to connect an IP camera
Choosing the right equipment:
Make sure your PoE IP camera is compatible with PoE or PoE+ technology.
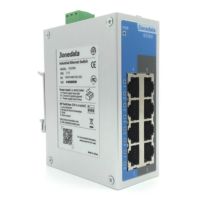
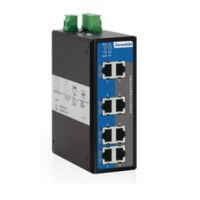
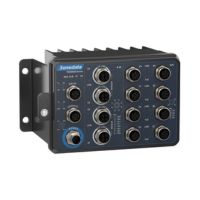
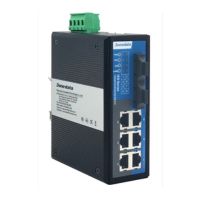
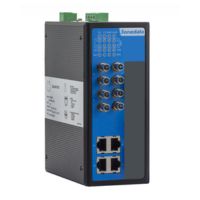
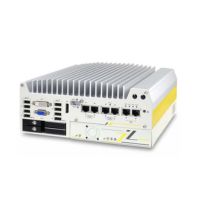
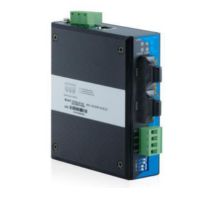
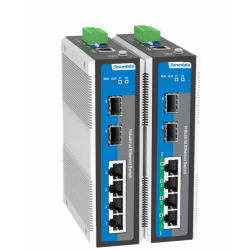
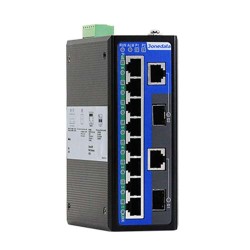
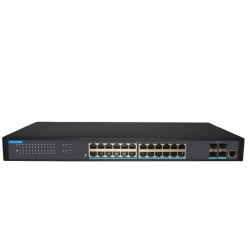
Select a PoE switch for your cameras to provide power and connect them to the network. Depending on your needs and installation location, you need to know what kind of switch you need, whether it should be a switch poe external, switch 16 port poe, or maybe switch poe 8 port.
Camera power supply:
Connect the industrial poe switch to the power source.
Connect the IP camera to the PoE switch using an Ethernet cable.
Configure network settings:
Access the camera settings via a web browser using the camera's IP address.
Assign a static IP address to the camera to ensure stable and continuous connectivity.
Install viewer software:
Download and install the camera viewing software, or use third-party software compatible with the model you are using.
Follow the software instructions to add the camera to the network
Remote access configuration:
Configure port forwarding on the router to allow remote access to the camera.
Configure DDNS (Dynamic Domain Name System) if you don't have a static IP address, allowing easy access via a domain name.
System security:
Change default usernames and passwords to increase security.
Enable encryption protocols such as HTTPS to protect data transmission.
Testing and troubleshooting:
Ensure proper camera operation by testing live streaming and recording capabilities.
Check that the system is not causing problems with network connectivity, camera settings or remote access.
Scale the system:
Add more IP PoE cameras to extend your surveillance coverage.
If necessary, upgrade your network infrastructure to support additional cameras. To do so, you will need to equip your network with a sufficiently large switch, such as an 8-port Poe switch or, for larger installations, 16 or switch poe 24 ports

Benefits of IP PoE cameras
Convenience with one cable
Simplifies installation with a single cable for power and data transmission.
High-quality image
Provides high-definition video for clear and detailed surveillance footage.
Remote availability
Allows users to remotely monitor and manage cameras via smartphones or computers.
Scalability
Easily expands to accommodate additional cameras as security needs increase.
Connecting PoE IP cameras is a key step in creating a robust and efficient surveillance system. By following the steps described, users can harness the power of these advanced cameras to enhance security, monitor activities and provide peace of mind. As technology continues to evolve, staying abreast of the latest developments in IP camera systems will help maintain a state-of-the-art and effective security infrastructure.

